We start with canvas setup and a clean Measures table. Simple steps. Repeatable results.
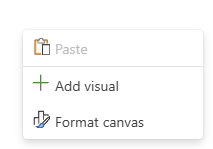
Starting from a blank canvas, increase the canvas size first. A fast way to open the canvas settings is to right-click on empty space.

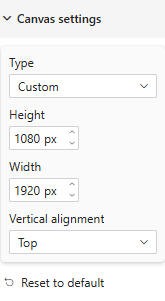
Select 'Format canvas' and set Type to 'Custom'. Use the following dimensions. They have worked reliably across many projects.

Next, create a dedicated Measures table. Many paths exist. This one is quick and consistent. Click 'Enter data'.

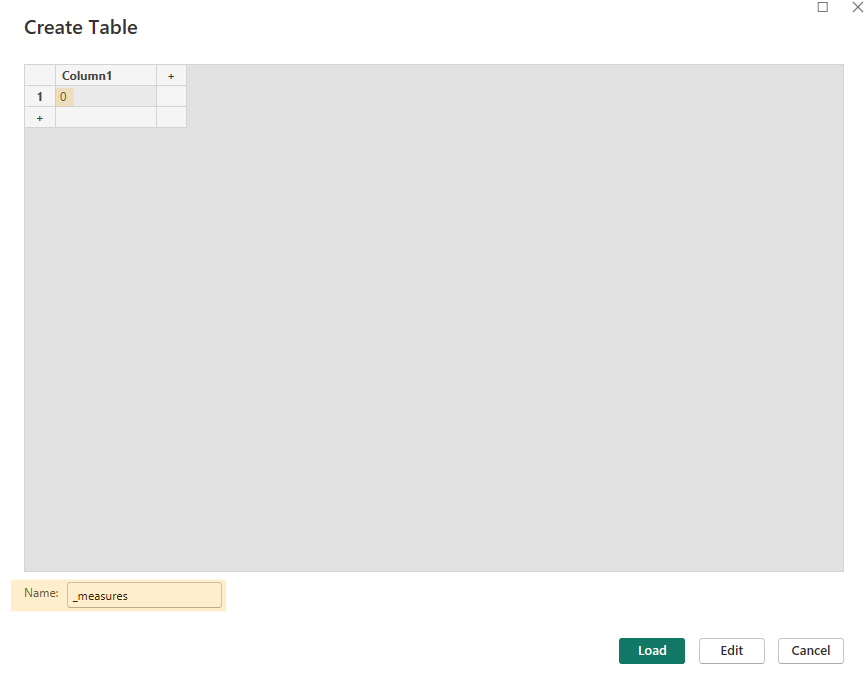
Name the table. 'Measures' is a reserved name, so I use '_measures'. Enter any placeholder value, such as '0'. We will remove it soon.

Click Load to create the table. Then add your first measure by right-clicking the new table and selecting 'New measure'. Any measure works for setup. Here I use the Financials Demo dataset:
Profit = SUM ( financials[Profit] )Your Measures table should now look like this.

Delete 'Column1', the placeholder data you created. Right-click and choose 'Delete from model'. You now have a proper Measures table. Note the updated icon.

This completes Part 1. A larger canvas and a dedicated Measures table give you order from day one. Part 2 will cover more setup patterns and early project checks.
